WeichertLabs
Windows Server Installation in Proxmox
This guide walks you through how to prepare a clean Windows Server installation and convert it into a reusable Proxmox template – ideal for fast, repeatable VM deployments in lab environments.
We’ll cover:
- Creating a Windows Server VM in Proxmox
- Attaching the Windows ISO and VirtIO drivers
- Booting into the installer and loading Red Hat SCSI drivers
- Selecting the installation disk and starting the install
This is part one of a two-part series. Once Windows is fully installed, please continue with the next guide which covers Sysprep, generalization, and final template preparation:
✴
Please note: All guides and scripts are provided for educational purposes. Always review and understand any code before running it – especially with administrative privileges. Your system, your responsibility.
✴
Use at your own risk: While every effort is made to ensure accuracy, I cannot take responsibility for issues caused by applying tutorials or scripts. Test in a safe environment before using in production.

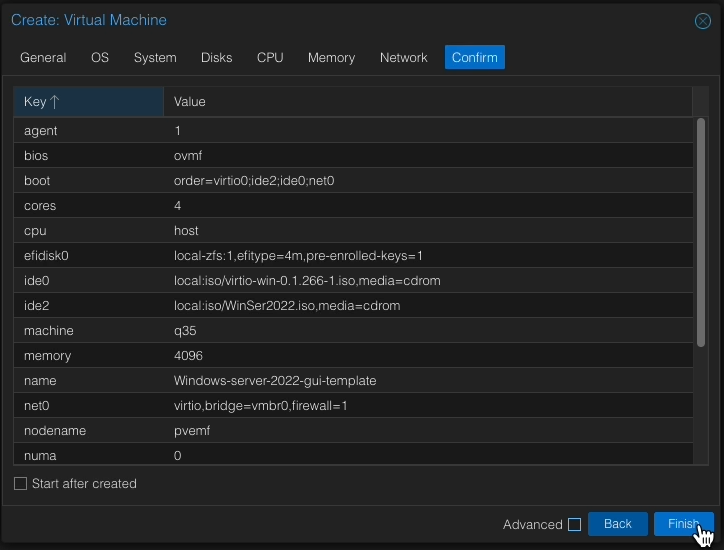
Step 1 – Create the Virtual Machine
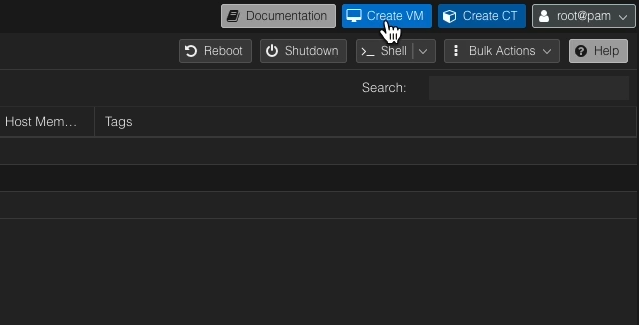
- Click “Create VM” in the top right corner of the Proxmox interface.
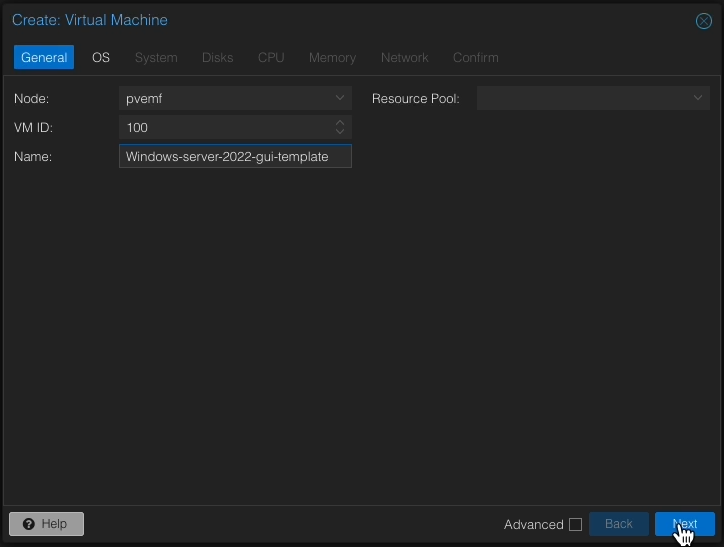
- Under General, set a name for your virtual machine. Adjust the VM ID if needed.
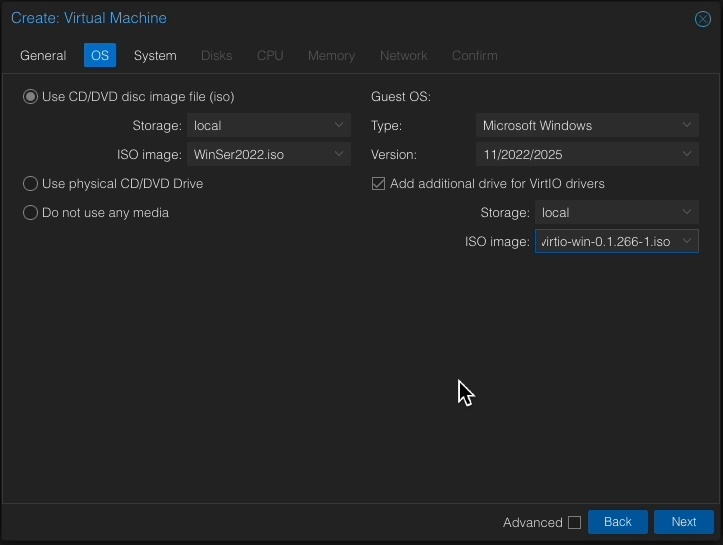
- In the OS tab:
- Select your Windows Server ISO.
- Set the OS type and version.
- Check “Add additional drive for VirtIO drivers” and select your downloaded VirtIO ISO.
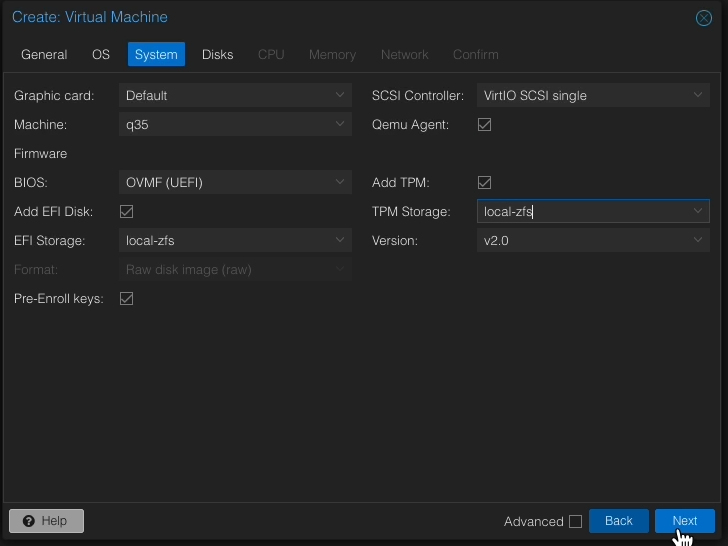
- In the System tab:
- Choose the storage where the VM should be placed.
- Check “Qemu Agent”.
- Specify the location for TPM storage (optional but recommended).
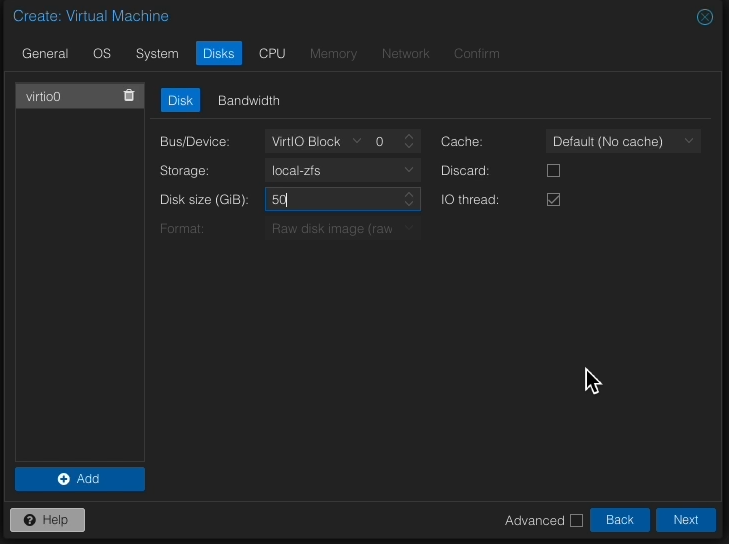
- Under Disks:
- Set Bus/Device to VirtIO Block.
- Set Disk Size to 50 GiB (or as preferred).
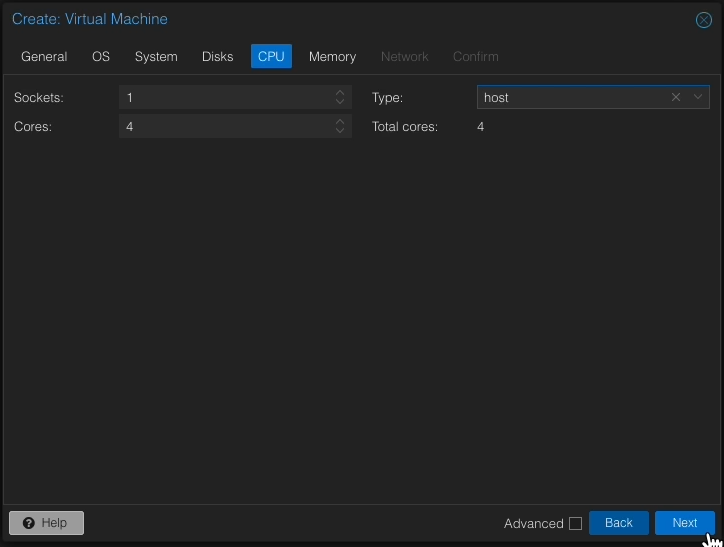
- Under CPU:
- Select the number of cores (e.g. 2 or 4).
- Set the CPU type to Host.
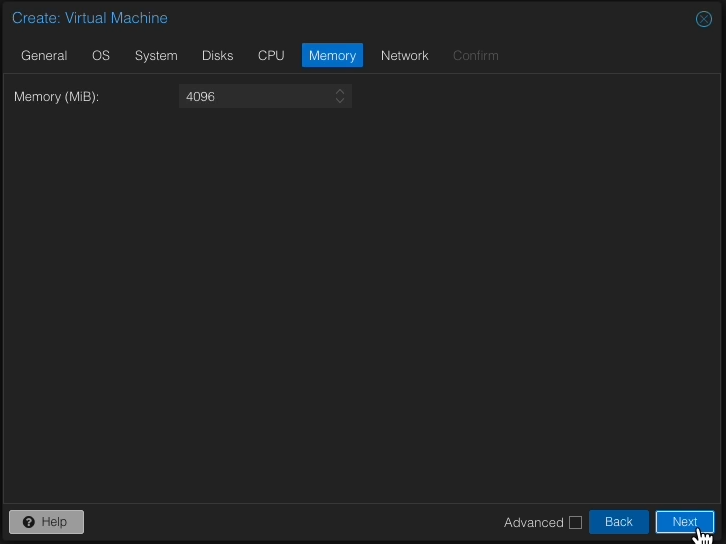
- In the Memory tab:
- Set the desired amount of RAM in MiB (e.g. 4096 for 4 GB).
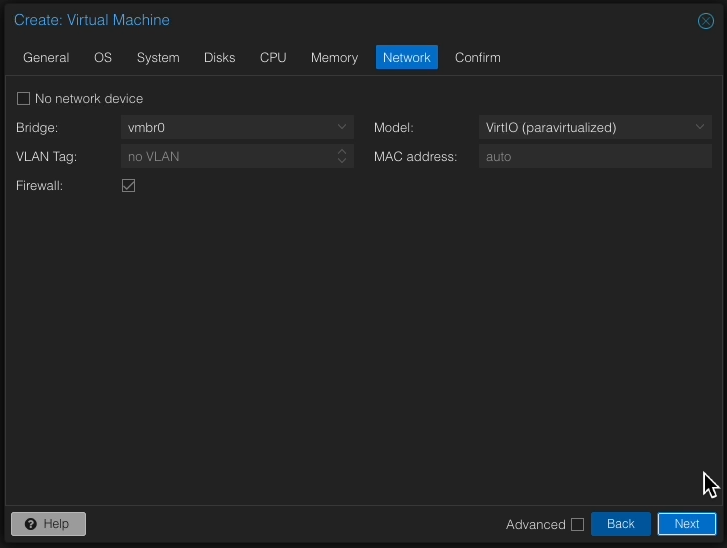
- Under Network:
- Adjust if needed (e.g. assign to a specific VLAN).
- Review your settings under Confirm and click Finish.
Screenshots & Code Snippets
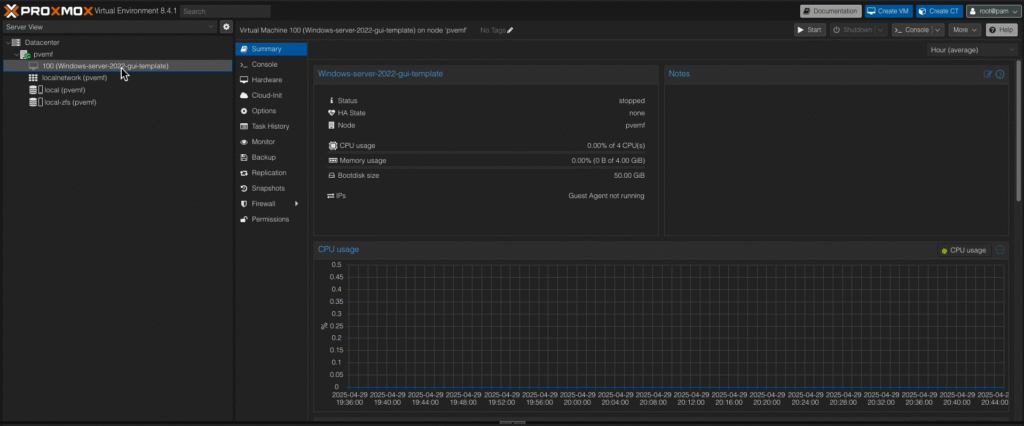
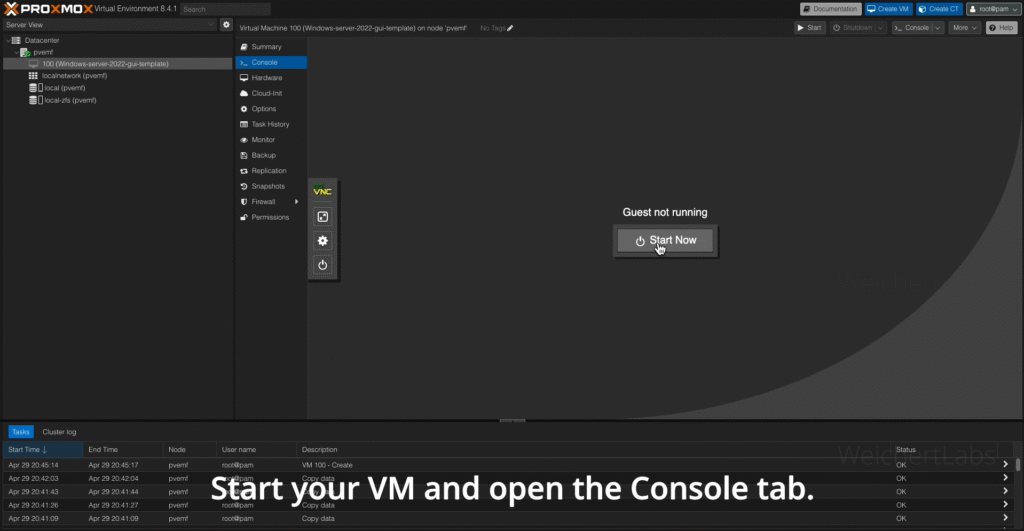
Step 2 – Start the VM and Begin Installation
- Select your new VM and open the Console tab.
- Click Start Now.
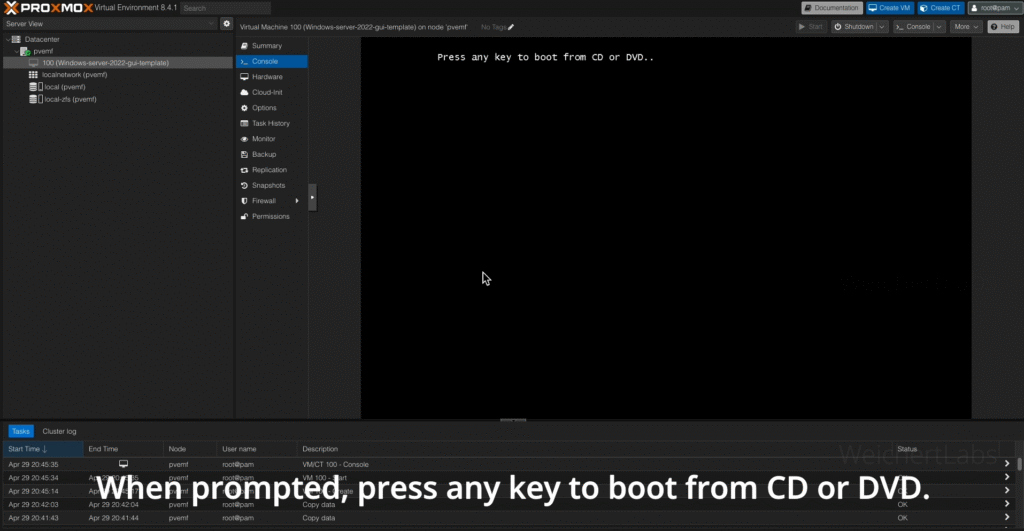
- When prompted with “Press any key to boot from CD or DVD…”, press a key to begin installation.
Screenshots & Code Snippets
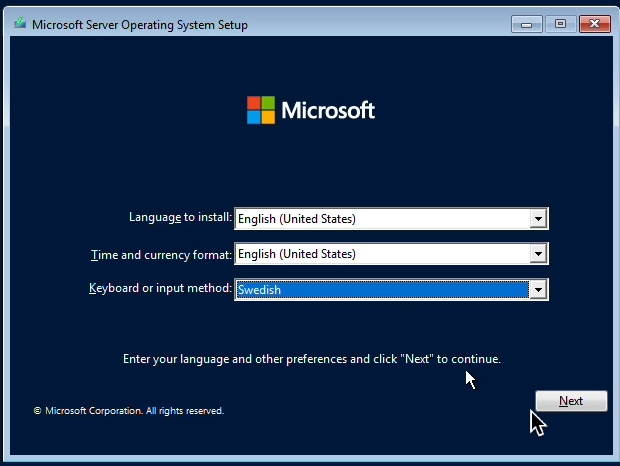
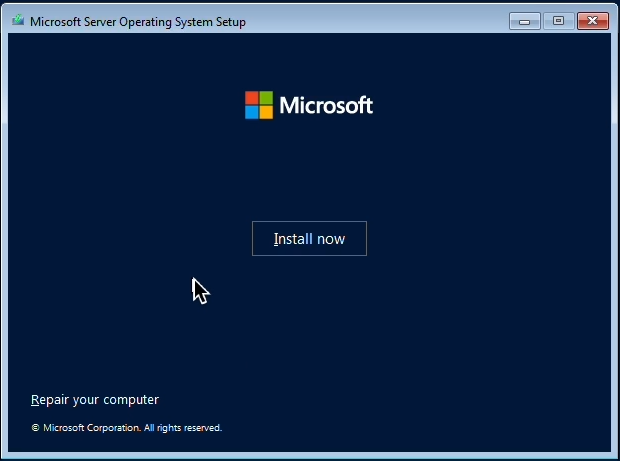
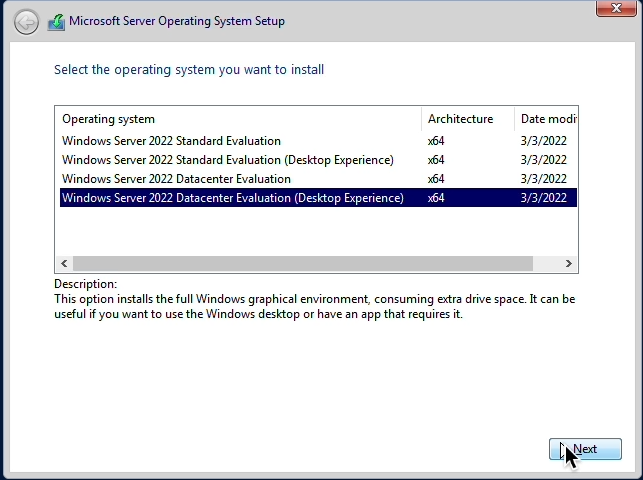
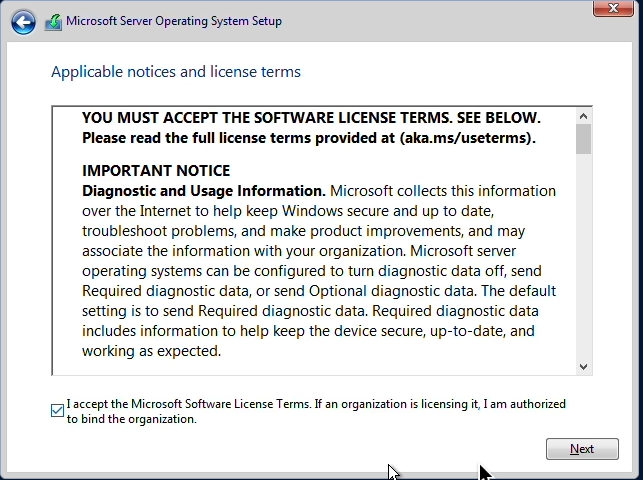
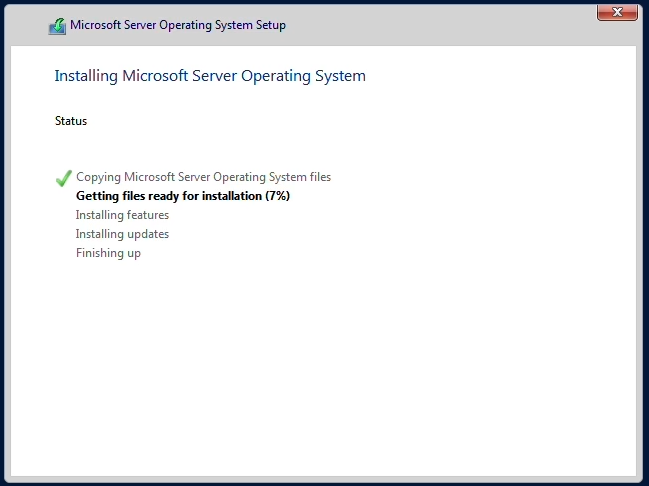
Step 3 – Install Windows Server
- Choose your preferred language, time and keyboard layout, then click Next.
- Click Install Now.
- Select your desired Windows Server edition (e.g. Standard or Datacenter) and click Next.
- Accept the license terms and click Next.
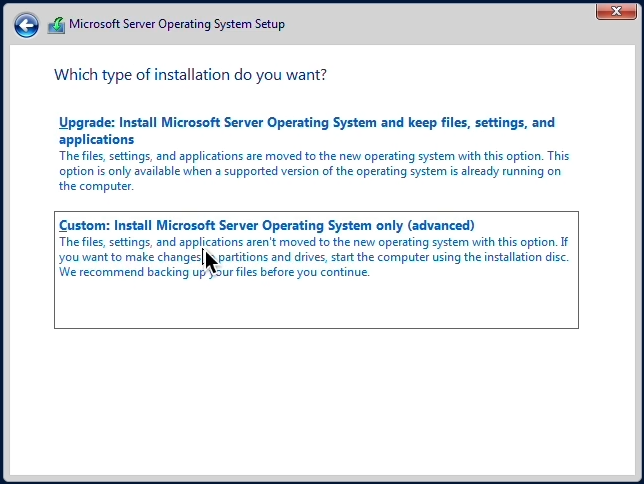
- Choose “Custom: Install Windows only (advanced)”.
Screenshots & Code Snippets
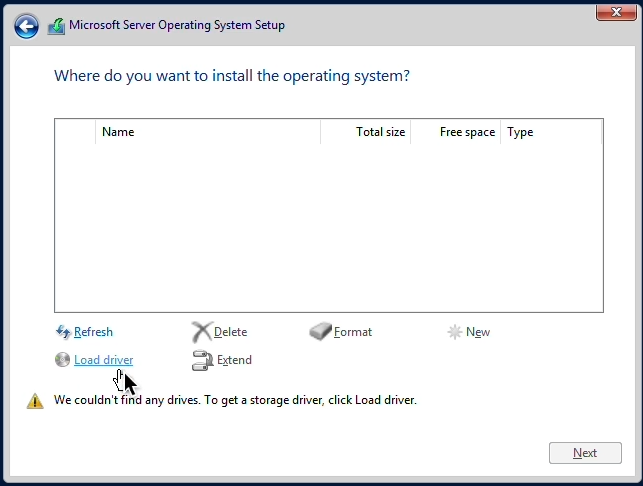
Step 4 – Load VirtIO Drivers
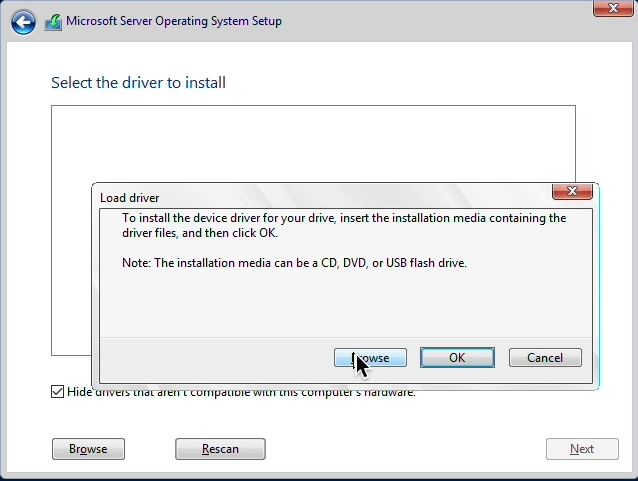
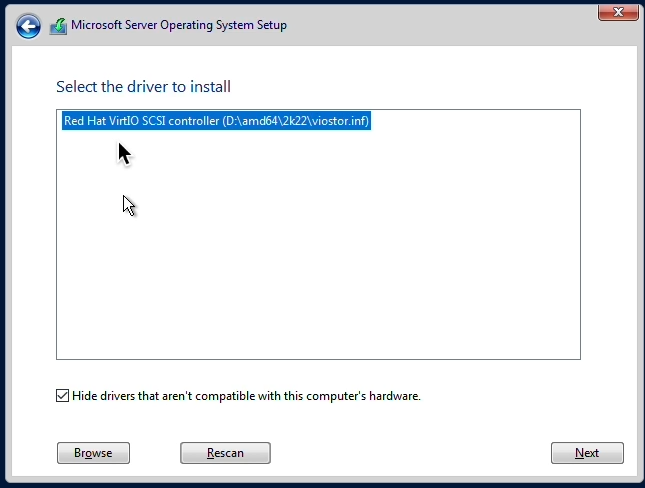
- Click “Load Driver” (icon next to the CD).
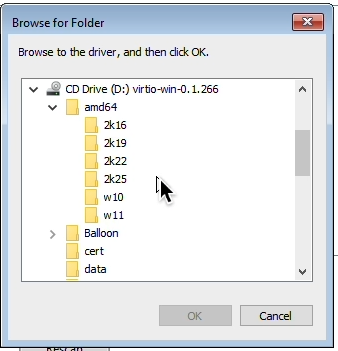
- Click Browse and select the VirtIO ISO.
- Navigate to the folder:amd64 → [choose version matching your Windows edition](e.g. 2k22, w11, or w10 depending on your install)
- Click OK.
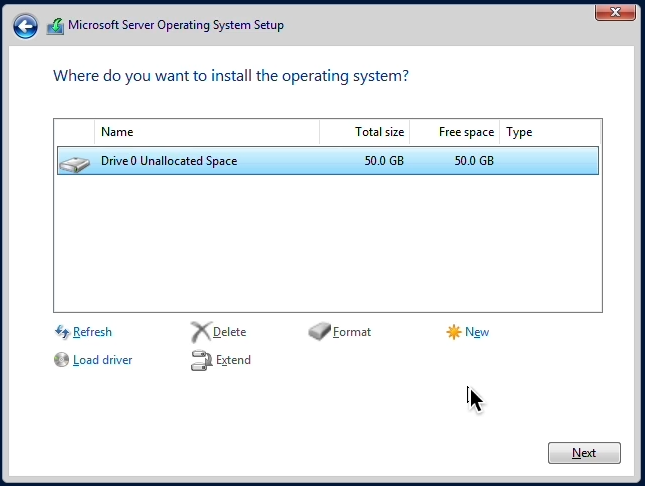
- Select Red Hat VirtIO SCSI Controller and click Next.
- After a moment, the storage drive will appear.
- Click Next to begin the Windows installation.
Screenshots & Code Snippets
Install Windows Server in Proxmox (Video Guide)
This video demonstrates how to install Windows Server in Proxmox VE. It covers the entire process from creating the virtual machine, attaching the Windows ISO and VirtIO drivers, configuring system settings, and completing the full Windows installation with proper disk and driver setup.