WeichertLabs
Proxmox VE Post Install Script
This guide is intended for freshly installed Proxmox VE systems. We’ll use the community-maintained Proxmox Helper Scripts to apply some useful post-install tweaks, improve repo sources, and update the system.
✴
Please note: All guides and scripts are provided for educational purposes. Always review and understand any code before running it – especially with administrative privileges. Your system, your responsibility.
✴
Use at your own risk: While every effort is made to ensure accuracy, I cannot take responsibility for issues caused by applying tutorials or scripts. Test in a safe environment before using in production.

Step By Step Instructions
- Login as root
You can either use the Proxmox web shell or SSH into your Proxmox node:
ssh root@your-proxmox-ip - Run the helper script
This script will clean up the default enterprise repo and switch to the no-subscription repo, update package sources, and apply some useful tweaks:
bash <(curl -s https://community-scripts.github.io/ProxmoxVE/scripts/post-pve-install.sh) - Follow the prompts
The script will ask you to confirm changes like switching repositories, enabling auto-updates, etc. - System update
The script will finish by asking if you want to update the system — and it’s highly recommended that you do. This ensures your installation is fully up to date. - Reboot (automated)After completing the update, the script usually prompts for a system reboot — go ahead and let it reboot to apply all changes.
Screenshots & Code Snippets


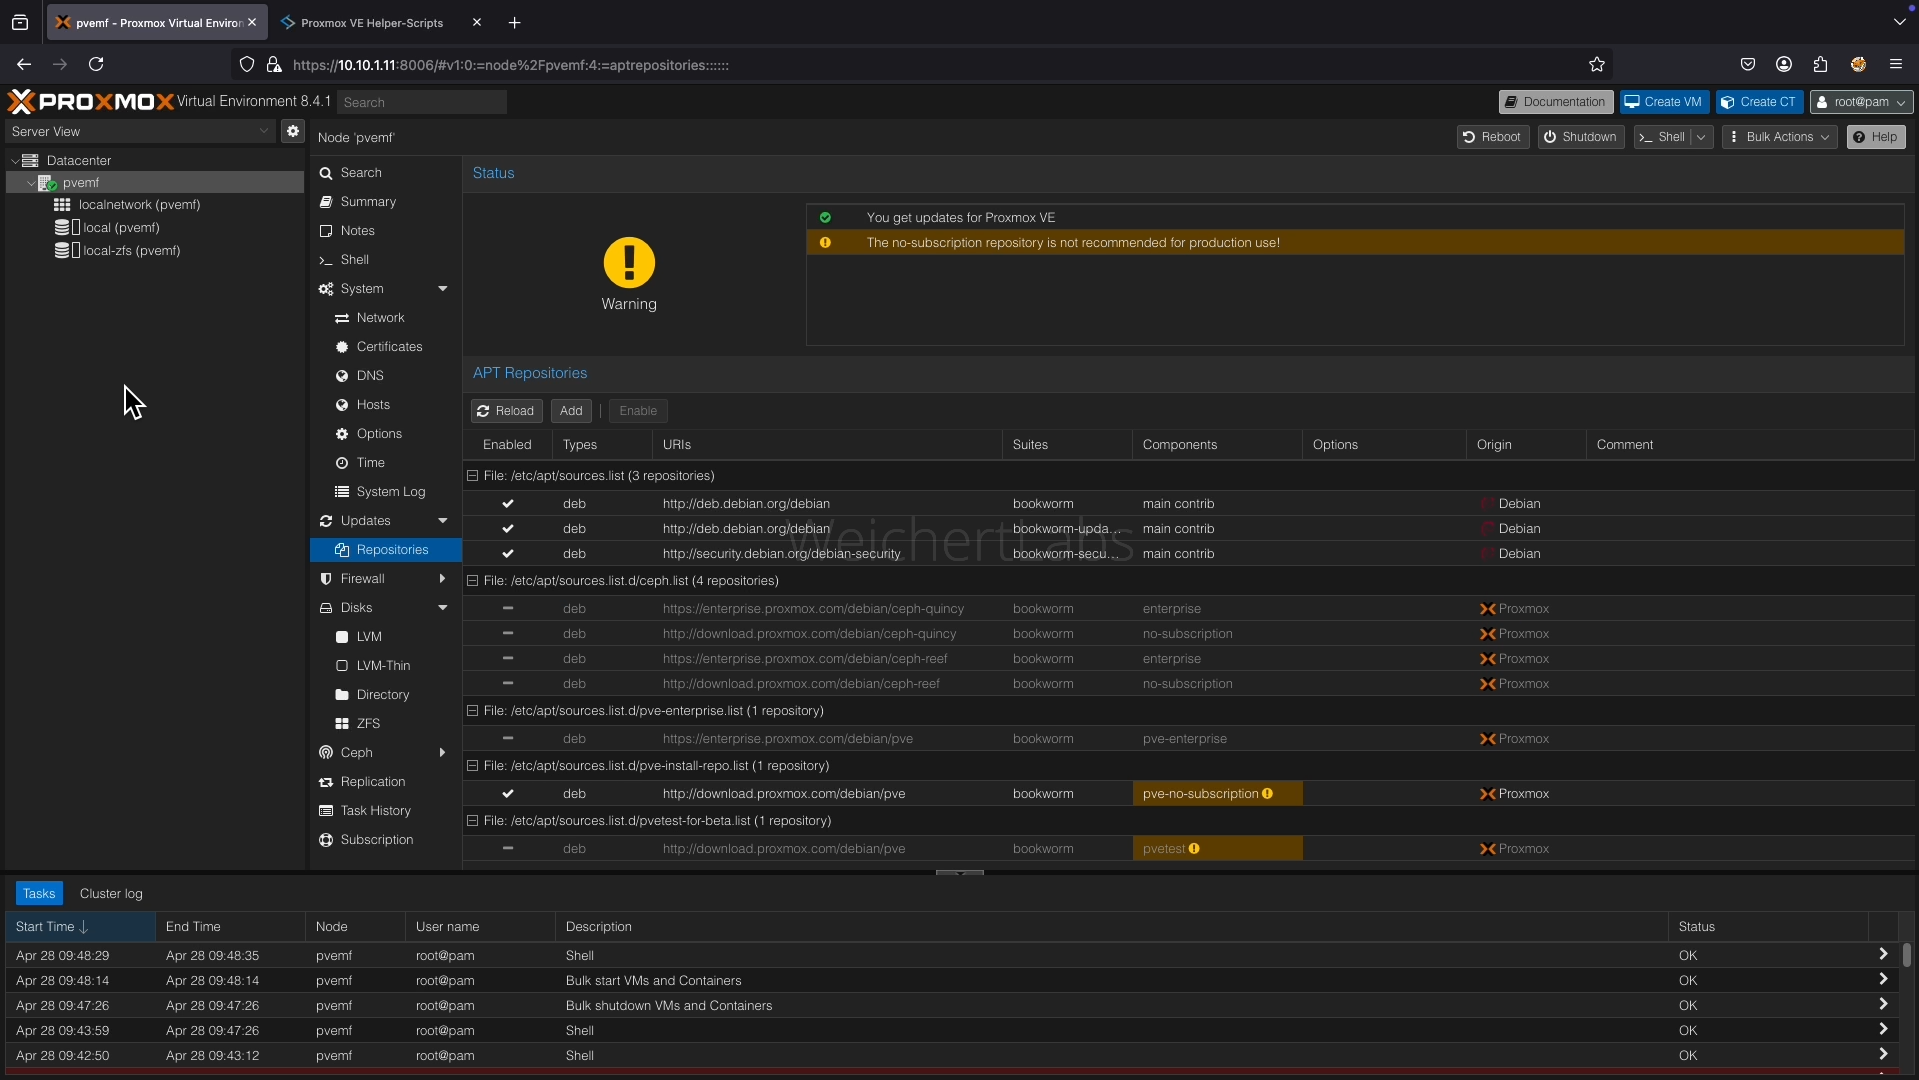
curl -s https://community-scripts.github.io/ProxmoxVE/scripts/post-pve-install.shRun the Proxmox Post-Install Script (Video Demo)
This video demonstrates how to run the Proxmox Post-Install Helper Script, which configures repositories, removes the enterprise subscription notice, and applies several useful optimizations. The script ends by offering to update Proxmox, which is generally a good idea to ensure you have the latest patches and features.